RSS

I currently live in Charlotte, NC and after spending 7 years as a personal chef and caterer, I am now happy to share my love of cooking with friends and family. My heart is in the kitchen, but my soul is in the stars!

Keep it simple


I'm tired. 

Tired of handing over money for a long list of supplies for one recipe.

Tired of a pantry full of only-used-once ingredients.

Tired of spending precious time on a complicated recipe to only have it turn out just okay. 

Sick. And Tired.  

Time and time again I'm proven that simple and fresh is best when it comes to preparing food.  I'm always happiest when I can prepare a meal, enjoy it and clean the kitchen all in about an hour or so.  I no longer even consider trying a recipe if it has more than 10 ingredients and especially if I don't already have most of them in my pantry.  And forget about something that takes half the day to prepare and the other half of the day to clean up. 

Sometimes, though, I feel the need to prepare these types of things for the sake of this blog so I can show you something pretty and exciting.  But the pressure gets to me because I don't eat like that on a regular basis and I end up never making most of what I had planned because I don't have the time or the money.  And I'm pretty sure those of you out there don't necessarily eat like that either for the same reasons.  Throw in a few picky-eater children and we're all just looking for something really good, moderately healthy and really quick. 

I love this Cilantro Lime Shrimp recipe that I found on Pinterest (which seems to have become my new virtual cookbook).  It originated from a blog called Never Enough Time written by Lana Stuart and I plan to spend a bit more time perusing Lana's recipes.  Here's what she has to say about her style of recipes/cooking:

"For me, it’s essential to be authentic. I try to always remember that traditional southern cooking is humble food. For some of us it is a reminder of where and from whom we came. The simple, satisfying food that our farming ancestors provided for their families. Humble food graciously prepared and gratefully received by hard-working, families."

And I feel the same way.  If I want fancy shmancy I'll go to a nice restaurant and pay someone else to do the hard work.  In the meantime, I'm going to keep it simple!  You must try this recipe though, because it takes less than 30 minutes and combines simple ingredients that come together for a complex tasting dish.  I served this over rice and a green salad but probably would have preferred it tossed with pasta.  A good crusty bread is a MUST for soaking up all the juicy flavors. 

Cilantro Lime Shrimp
courtesy of Never Enough Time
Serves 2-3

Ingredients
  • 1 tblsp. butter
  • 1 tblsp. olive oil
  • 2 cloves garlic, minced
  • 1 medium onion, chopped
  • 1 jalapeno, finely chopped
  • ¼ tsp. red pepper flakes
  • ½ tsp. Mexican oregano
  • 2 Roma tomatoes, chopped
  • 1 lime, zest and juice
  • ½ tsp. salt
  • ½ tsp. black pepper
  • 1 pound shrimp, split and deveined
  • 2 tblsp. chopped cilantro

Instructions
  1. Melt the butter and oil in a heavy skillet over medium-high heat.
  2. Add the garlic, onion and jalapeno.
  3. Cook, stirring until the onion begins to wilt, approximately 3 minutes.
  4. Add the red pepper flakes and oregano.
  5. Continue cooking until the onion becomes translucent, approximately 3 additional minutes.
  6. Add the tomatoes.
  7. Cook, stirring occasionally, until the tomatoes are soft.
  8. Add the shrimp, zest and lime juice, salt and black pepper.
  9. Cook until the shrimp are just opaque. Be careful not to overcook.
  10. Remove the pan from the heat and stir in the cilantro.

Pin It
  • Digg
  • Del.icio.us
  • StumbleUpon
  • Reddit
  • RSS

Good enough for a man but....


Have you discovered the newest internet sensation, Pinterest?  Of course you have.  Everyone has.

Several of my friends discovered Pinterest early on and while they were busy making boards and finding creative things and pinning away, I stayed strong on my stance that I would NOT succumb to yet another internet addiction.  Yeah, riiiiiight.  My mighty willpower lasted all of about a month before I sneaked over to see what it was all about. 

I will admit that while I find Pinterest inspiring, it hasn't become as much of an obsession as I feared it would.  It is the digital equivalence of flipping through a magazine and ripping out pages you find interesting, and just like in real time I lay those pages aside thinking I'll eventually get around to doing/decorating/baking/cooking what ever it is and usually never do. 

I needed dinner inspiration recently so I turned to my overburdened "Recipes To Try" board on Pinterest and found this recipe from Witty in the City called "Man Pleasing Chicken"  and with a little tweaking, this kickin' quick and easy chicken made me a very happy girl! 

My package of chicken had 4 pieces, but you could probably go as high as 6 with this quantity of marinade. I removed most of the skin as well and used rosemary as my fresh herb.

Oh, and hey....don't forget to pin this recipe to your board with my easy little "Pin It" button below.  Happy pinning!


Good Enough For A Man But Made For A Woman Chicken
adapted from Witty in the City
serves 2 to 4

  • 1 package chicken thighs
  • 1/2 cup maple syrup (use the real stuff, not the fake Mrs. Buttersworth stuff)
  • 1/2 cup Dijon mustard
  • 1-1/2 tablespoons rice wine vinegar
  • about 4-5 slices of bacon, cooked and crumbled
  • about 2 tablespoons chopped fresh herbs, such as rosemary, thyme or sage
  • salt and pepper, to taste

Preheat oven to 400 degrees.  Line a baking pan with aluminum foil and arrange chicken in pan.  Salt and pepper the chicken to taste. 

In a small bowl, mix the maple syrup, mustard and vinegar.  Pour marinade over chicken and turn the pieces a few times to coat them really well.

Bake for about 30-40 minutes or until chicken reaches 165 degrees and chicken has that nice roasted look.  Let chicken rest for about 5 minutes. 

Plate chicken with a few spoonsful of sauce, some fresh herbs and chopped bacon.  Enjoy!


Pin It
  • Digg
  • Del.icio.us
  • StumbleUpon
  • Reddit
  • RSS

Orzo. Be Afraid.


Years ago when I first started my catering business, I was so excited to share the same foods that I loved with my clients.  It took me a few times of developing menus for potential parties to learn that not everyone likes what I like and I remember one client commenting that I must also own a goat farm because her menu was so laden with dishes containing my beloved goat cheese.  To this day I'll never understand anyone who doesn't like that stuff. 

One summer, I picked up a lucrative contract to provide box lunches for several weeks to school teachers who were attending training seminars.  We did several varieties of the boxes but they all included the standard fare you see in those types of meals:  sandwich, side salad, and dessert.  I prepared this lovely recipe from Ina Garten, The Barefoot Contessa for roasted vegetables with orzo as a side dish for one round of the box lunches.   When the call came to place the next order, the person followed up by saying, "Please don't send any more of that orzo stuff."   I immediately went into panic mode thinking something had been wrong with the food and when I asked why, she simply said, "They were afraid of it."

Afraid. 

Of pasta. 

I was in such disbelief I couldn't even laugh at the ridiculousness of that statement.  But I giggle now every time I make this dish because I can't help but remember that conversation. 

So consider yourself warned, faint-of-heart readers, because here's the recipe for Orzo with Roasted Vegetables.  I promise it's nothing to be afraid of and it's very simple to make.  Choose a good olive oil because it is really the star ingredient of the dish.  Most times I leave the pine nuts out because my grocery store insists on hiding them from me.  And I've heard rumors that goat cheese works well in place of the feta.  


Orzo with Roasted Vegetables
Recipe courtesy of Ina Garten as published in Barefoot Contessa Parties!

1 small eggplant, peeled and 3/4-inch diced
1 red bell pepper, 1-inch diced
1 yellow bell pepper, 1-inch diced
1 red onion, peeled and 1-inch diced
2 garlic cloves, minced
1/3 cup good olive oil
1-1/2 teaspoons kosher salt
1/2 teaspoon freshly ground black pepper
1/2 pound orzo or rice-shaped pasta

For the Dressing:
1/3 cup freshly squeezed lemon juice (2 lemons)
1/3 cup good olive oil
1 teaspoon kosher salt
1/2 teaspoon freshly ground black pepper
4 scallions, minced (white and green parts)
1/4 cup pignolis (pine nuts), toasted
3/4 pound good feta, 1/2-inch diced (not crumbled)
15 fresh basil leaves, cut into julienne

Preheat the oven to 425 degrees F. Toss the eggplant, bell peppers, onion, and garlic with the olive oil, salt, and pepper on a large sheet pan. Roast for 40 minutes, until browned, turning once with a spatula.

Meanwhile, cook the orzo in boiling salted water for 7 to 9 minutes, until tender. Drain and transfer to a large serving bowl. Add the roasted vegetables to the pasta, scraping all the liquid and seasonings from the roasting pan into the pasta bowl.

For the dressing, combine the lemon juice, olive oil, salt, and pepper and pour on the pasta and vegetables. Let cool to room temperature, then add the scallions, pignolis, feta, and basil. Check the seasonings, and serve at room temperature.

Pin It
  • Digg
  • Del.icio.us
  • StumbleUpon
  • Reddit
  • RSS

A Bumper Crop of Basil


I normally have a hard time growing healthy, lush basil but this year I've had more than my fair share of success. The stuff is literally growing overnight and reaching out to grab me by the leg as I walk by on the patio.  I've already harvested twice and made two batches of basil pesto for the freezer so I really didn't want anymore of that, so that left me wondering what to do with the bounty from my third harvest.  I decided to dry this round so I'd have it to use long after my plants have died down. 

It's best to harvest your herbs during the early or mid-morning hours before the hot sun starts beating down on them.  Wash them and dry them off really, really well (especially if you plan to hang them to dry because you don't want to risk having the leaves mold from the moisture).    If you do plan to hang them to dry, that process is pretty simple but it takes a bit of time.  Just gather your stems in bunches, tie them with kitchen twine and hang them in a cool, dark and dry place to dry.  I really didn't want basil hanging in my closet because I can barely get all of my clothes in there as it is, so I decided to use the oven to dry mine.


Turn your oven on the lowest temperature setting - mine is 200 degrees and that worked just fine.  Line a baking pan with either aluminum foil or parchment paper as the leaves have a tendency to stick to your pan.  The leaves will begin to shrink in size as they dry, so go ahead and put a big pile on your pan but spread them as best you can into a single layer.  I dried about three batches and the leaves took anywhere from 15-20 minutes to dry and even then some of the batch wasn't completely dry.  So as they cooled, I crumbled the leaves and poured it all back onto the parchment paper and let it continue to dry with the residual heat after I turned off the oven. 

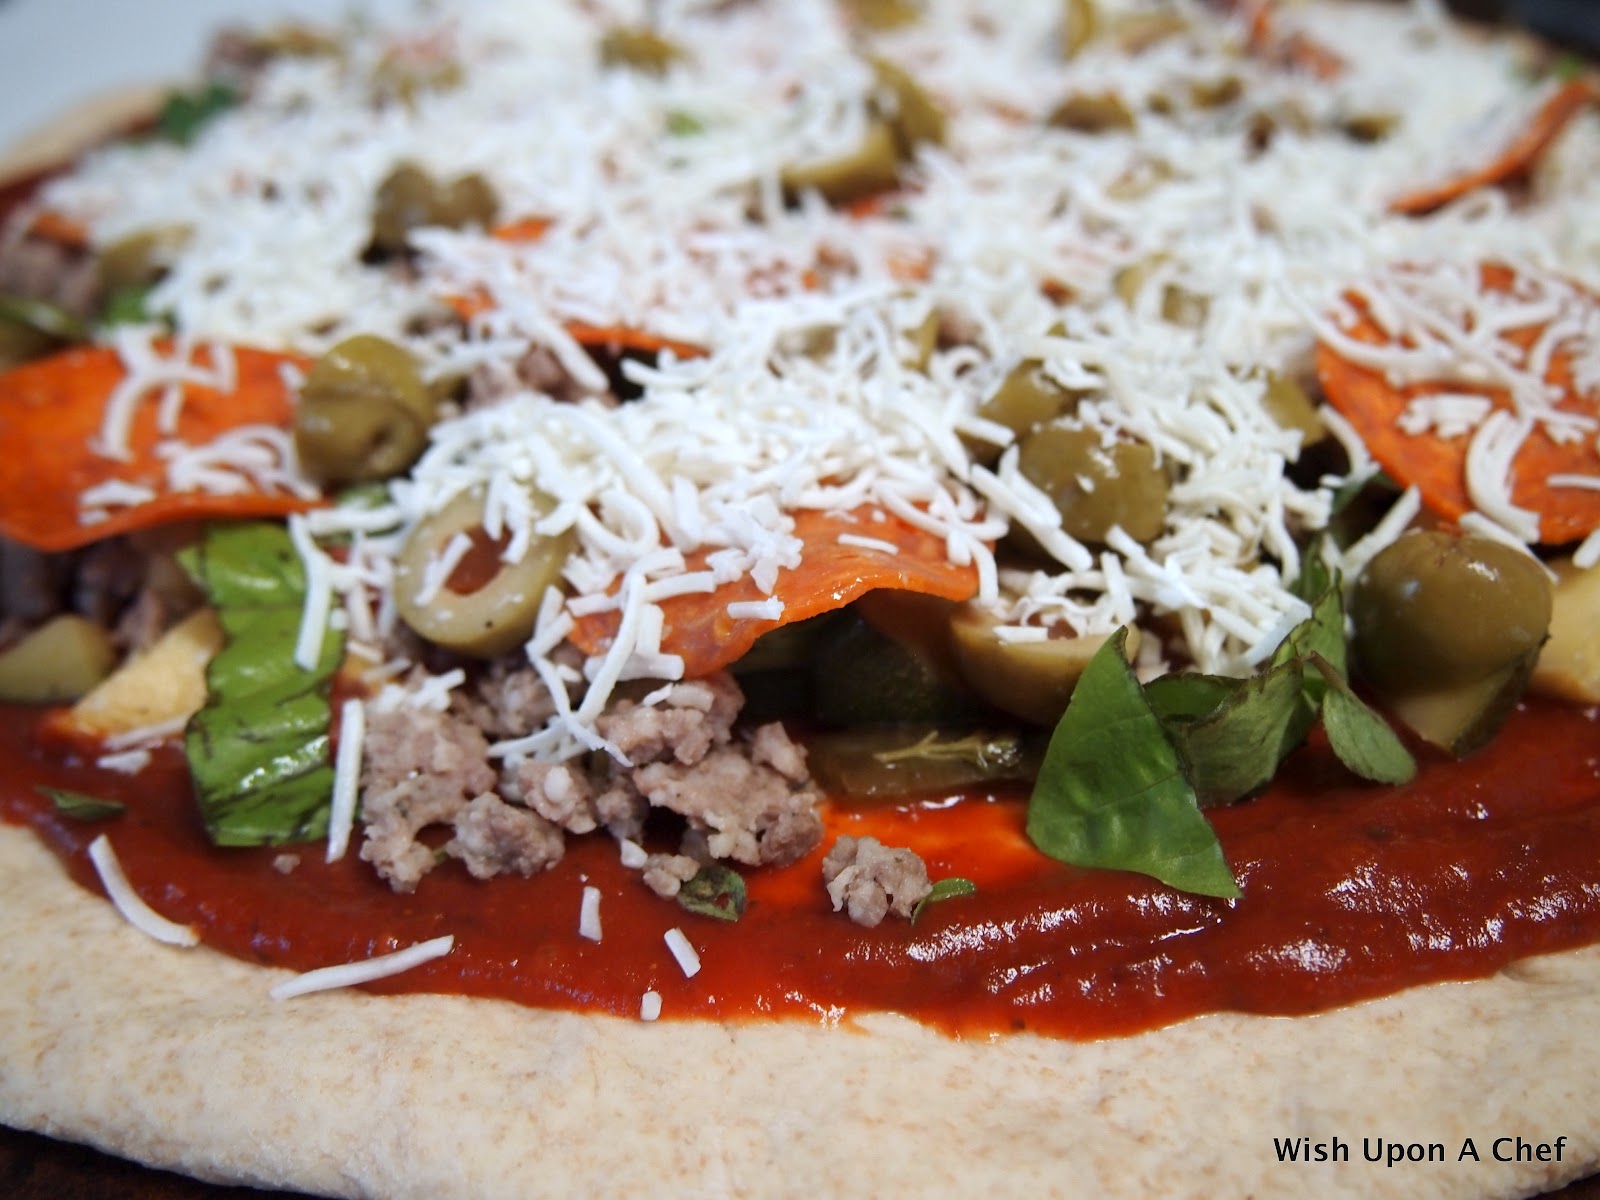
Three large batches of fresh leaves yielded about 3/4 cup of dried leaves.  Keep the basil sealed in a freezer bag or jar and use it to season anything from vegetables to sauces to soups.  I even added a few generous pinches to my bread machine pizza dough earlier in the week.  I've included the recipe that I use in my Oster Expressbake breadmaker - I know pizza dough is simple to make with your own two hands, but I'd rather spend five minutes throwing the ingredients in the machine and let it do all the work while I'm busy doing something else, like drying basil.  I'm a huge multi-tasker like that. 


Pizza Dough for Bread Machine
Makes 1.5 lb.

1/2 tsp. salt
3 cups all-purpose flour (sometimes I use half all-purp and half whole wheat)
1-1/2 tsp. active dry yeast
1 cup water
2 Tbls. olive oil or vegetable oil

If you'd like to add your favorite dried herbs to the bread pan along with the other dry ingredients, feel free to do so.  I used about a tablespoon of dried basil.  Or if you prefer, you could sprinkle it on the pizza sauce before you add your toppings. 

Combine all ingredients into bread pan. 

Select Dough setting and let it do its thing.  Mine takes about 1-1/2 hours.  When it's finished, pat dough out into 12x15 jelly roll pan or greased 12" round pizza pan.

Preheat oven to 400 degrees.

Top dough with pizza sauce and your favorite toppings.

Bake 15-20 minutes or until crust is golden brown. 


Pin It
  • Digg
  • Del.icio.us
  • StumbleUpon
  • Reddit
  • RSS