
Recently hailed as a "superfruit" because of their antioxidant properties, cranberries have adorned Thanksgiving and Christmas dinner tables since the beginning of time in the gelatinous shape of an aluminum can. Harvested from September to November, 95% of the crop is processed into juice cocktails, as dried berries, or as the beloved holiday cranberry sauce, so that only leaves 5% of the crop to be sold as fresh berries. When the bags of fresh berries appear in the produce section, I always stock up because they freeze surprisingly well. Grab several bags for yourself so you too can enjoy the superfruit's healing benefits year round. Although I'm not sure how healing they become once they are combined with liqueur, sugar, and cream cheese, but I'm thinking you won't really care because it makes such a fantastic combination!
Today's cranberry tart is reminiscent of this one because it is loosely based on it. While I enjoyed the Bon Appetit version very much, I must admit that I like my own version of it even a little better. I hope you enjoy it as well!
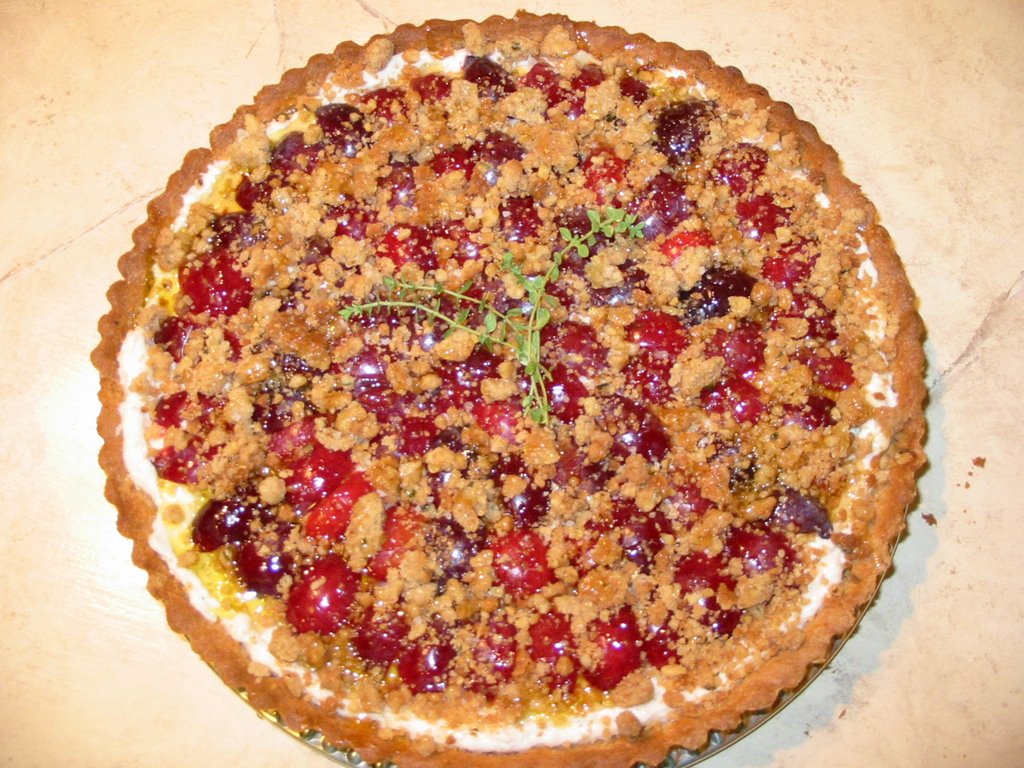
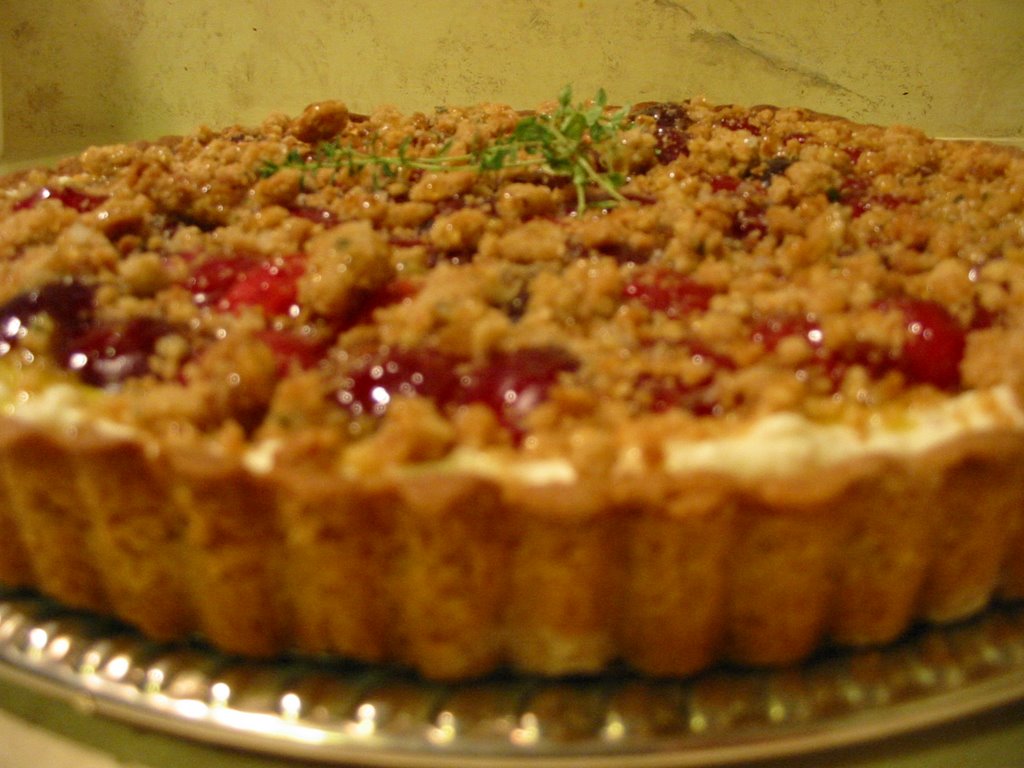
Crantastic Cranberry Tart
Inspired by Bon Appetit
Cranberry Topping:
3/4 cup Chambord Black Raspberry Liqueur, divided
1 teaspoon unflavored gelatin
1-12 ounce bag fresh or frozen cranberries
3/4 cup sugar
2 teaspoons fresh lemon juice
1 teaspoon finely grated lemon peel
1 teaspoon ground ginger
1 Pinch salt
4 tablespoons finely chopped crystallized ginger
Crust:
1-1/2 cups cinnamon graham cracker crumbs
1/4 cup sugar
1/8 teaspoon salt
8 tablespoons unsalted butter, melted
Cream Cheese Filling:
8 ounce cream cheese, softened
1 can sweetened condensed milk
1 teaspoon vanilla extract
1/3 cup lemon juice
Pour 1/4 cup Chambord into small bowl; sprinkle gelatin over. Let stand until softened, 15 minutes. Combine remaining Chambord, cranberries, and next 5 ingredients in medium saucepan; bring to boil, stirring until sugar dissolves. Reduce heat to medium; simmer until cranberries are tender but still plump, 5 minutes. Strain into bowl; set cranberries aside. Add gelatin mixture to hot liquid in bowl; stir until gelatin dissolves. Stir cranberries back into liqueur along with crystalized ginger and chill until cranberry mixture is cold and slightly thickened, at least 8 hours or overnight. This can be done up to 2 days ahead. Cover and chill.
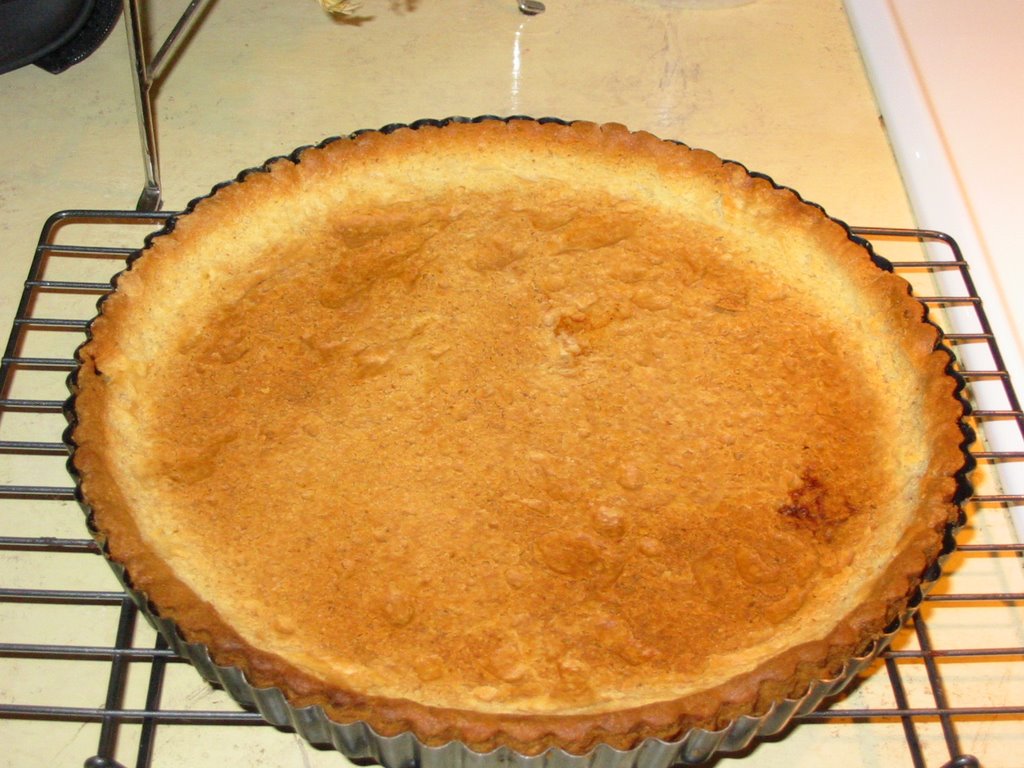
For crust:
Position rack in center of oven and preheat to 350°F. Combine cracker crumbs, sugar, and salt in medium bowl; add melted butter and stir until crumbs feel moist when pressed together with fingertips. Press crumb mixture firmly onto bottom and up sides of 9-inch-diameter tart pan with removable bottom. Bake crust until beginning to set and slightly crisp, pressing with spoon if crust puffs during baking, about 14 minutes. Transfer tart pan to rack and cool crust completely before filling.
For cream cheese filling:
Using electric mixer, beat all ingredients until smooth. Spread filling in cooled crust. Can be made 1 day ahead. Cover and chill.
Spoon cranberry mixture evenly over filling. Chill at least 2 hours and up to 6 hours. Cut tart into wedges and serve cold.


